Getting Started
Why Use Twine?
In the past few years, interactive fiction has become more popular. With the emergence of media like Black Mirror: Bandersnatch and video games like Assassin's Creed, where every choice has a consequence, its clear that users want the ability to make their own decisions.
Twine is an open source tool that can be used to both plan and create one of a kind stories and games. The stories can be nonlinear - in other words, there is no standard way to complete the story. Instead, there can be multiple paths and endings.
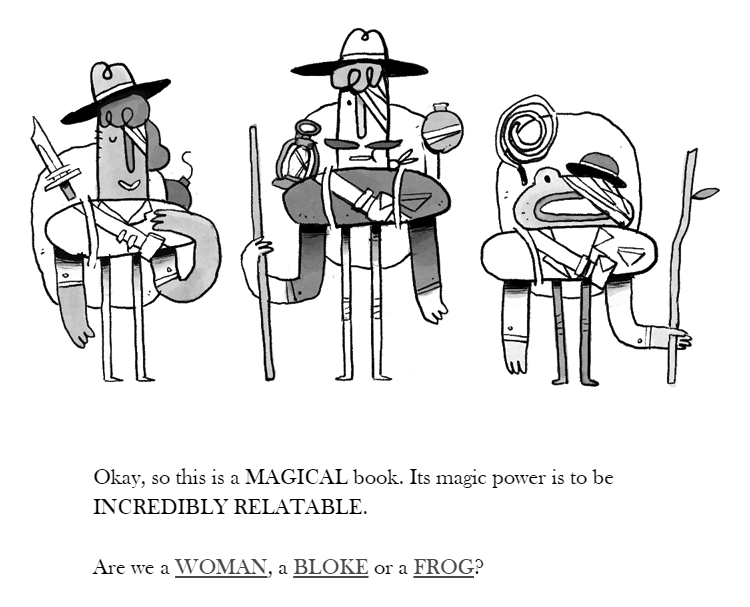
One example is The Temple of No, a Twine game where you play through the story of an adventurer looking for treasure. Every choice in the game matters. Will you play as a woman or a frog? Will you take the path to the left or to the right? The decisions all bring you closer to your destination, even if you aren't quite sure what that destination is.
Twine is an open source tool that can be used to both plan and create one of a kind stories and games. The stories can be nonlinear - in other words, there is no standard way to complete the story. Instead, there can be multiple paths and endings.
One example is The Temple of No, a Twine game where you play through the story of an adventurer looking for treasure. Every choice in the game matters. Will you play as a woman or a frog? Will you take the path to the left or to the right? The decisions all bring you closer to your destination, even if you aren't quite sure what that destination is.
The Twine Interface
Let's get started by taking a look at the Twine interface. There are two versions of Twine: a web version and a version you can download to your computer. For this tutorial, we will be using the web version, but thet two versions are pretty much the same.
This video will give you a quick overview of the Twine interface: (video)
When you click the name of your story in Twine, the following options appear:
Now that you know how to get started and you're familiar with the Twine interface, you can create your first Twine story. Look at the topics on the homepage to learn more about how to use Twine.
- First, Go to the Twine website and click on the Use it Online link.
- On this page you'll see the list of the stories you have in progress.
- Click on the Story button (picture) to start a new Twine story.
- Give your story a name, and click Add. (picture)
- The main Twine interface will appear: (screen)
This video will give you a quick overview of the Twine interface: (video)
When you click the name of your story in Twine, the following options appear:
- Edit Story JavaScript: You can use JavaScript, a scripting language, to add effects, animation, and more to your Twine story.
- Edit Story Stylesheet: Change the styles in your story, from the font type to the background color.
- Change Story Format: There are three story formats included with Twine: Harlowe, Snowman, and SugarCube.
Harlowe: The default story format for Twine. It's easy to use and perfect for beginners, but there isn't room for a lot of customization.
Snowman: A story format for authors who are more familiar with JavaScript. Instead of using macros, the author writes JavaScript directly into their story.
SugarCube: This format is for authors who want the ability to add macros and other interactive functions to their story. - Rename Story: Change the name of your Twine story.
- Select All Passages: Selects all of the passages in your story so you can easily move them around the story grid.
- Snap to Grid: When you move a passage, the box snaps to the story grid. This makes it easier to organize and navigate your story.
- Story Statistics: Shows information about your story - how many words, if there are any broken links, when the story was last edited, and more.
- View Proofing Copy: Opens a simple, easy to print version of your Twine story.
- Publish to File: Saves your Twine story as an HTML file on your computer.
Now that you know how to get started and you're familiar with the Twine interface, you can create your first Twine story. Look at the topics on the homepage to learn more about how to use Twine.