Working with Images
How to Add Images
While it's possible to create a Twine story or game by just using text, it's more fun for the reader - and for you - if you add some visual elements. Working with images in Twine is easy and can help add some interest and context to your story.
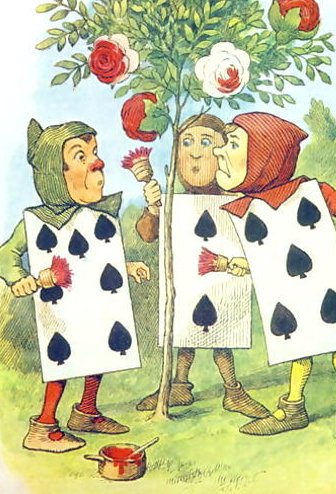
Let's say we want to add this image to our story:
There are two ways to add the image, depending on the version of Twine you're using.
A quick way to do this is to use TinyPic, a free image hosting website. Upload your image and you'll be given a list of codes to use. Copy the Direct Link for Layouts link.
It will look something like this: http://i66.tinypic.com/1125uts.jpg
Back in the Twine inteface, you'll use the following syntax to add your new image to a passage.
When you view your story, the image will now show up!
The syntax will be the same, but the link will change:
Let's say we want to add this image to our story:
There are two ways to add the image, depending on the version of Twine you're using.
Web Version of Twine
The web version of Twine works like a website. That means that any assets, like images or videos, must be hosted somewhere else before you can use them in your story.A quick way to do this is to use TinyPic, a free image hosting website. Upload your image and you'll be given a list of codes to use. Copy the Direct Link for Layouts link.
It will look something like this: http://i66.tinypic.com/1125uts.jpg
Back in the Twine inteface, you'll use the following syntax to add your new image to a passage.
Harlowe & SugarCube:
[img[http://i66.tinypic.com/1125uts.jpg]]When you view your story, the image will now show up!
Computer Version of Twine
If you're using the version of Twine you had to download to your computer, you can link to the image as it exists in your computer files.The syntax will be the same, but the link will change:
Harlowe & SugarCube:
[img[assets/images/photo.jpg]]Using Images as Links
In Twine you can add links and images, but you can also add images as links. For example, let's say that in our story Alice has the choice between talking to the Crow or the Cheshire Cat. Let's use these two images to represent both animals:
We already know how to add an image, and we know how to add a link. All we have to do is combine the two.
We have two passages - one named Crow and one named Cat. Let's link up those passages to the images.
Now when we click on the Crow or Cat image, we will be directed to the corresponding passage.
We already know how to add an image, and we know how to add a link. All we have to do is combine the two.
We have two passages - one named Crow and one named Cat. Let's link up those passages to the images.
Harlowe & SugarCube:
(link: '<img src="crow.png">')[(goto:"Crow")]

(link: '<img src="cat.png">')[(goto:"Cat")]
Now when we click on the Crow or Cat image, we will be directed to the corresponding passage.